
- Joined
- Nov 3, 2010
- Location
- Hamilton
Back on January 1 2010, I finally fulfilled a lifelong dream. To get a go-fast fishing boat.
As I did not have a passport, my wife went over the border to pick it up, I waited by Sarnia customs office for her to arrive and when she did, I said to myself, Oh feces. It was too late, the deal was done, and as my mother would say, sometimes you just have to row with the oars you’ve got.
We pulled it home, and here is where the fun started, I went to back it into the shop, and it turned out that my door measured 89” and the boat measures 93”. That delayed the work until I installed another roll-up door in the shop. A month passed before I found a door at a price I could afford, (free), and installed it.
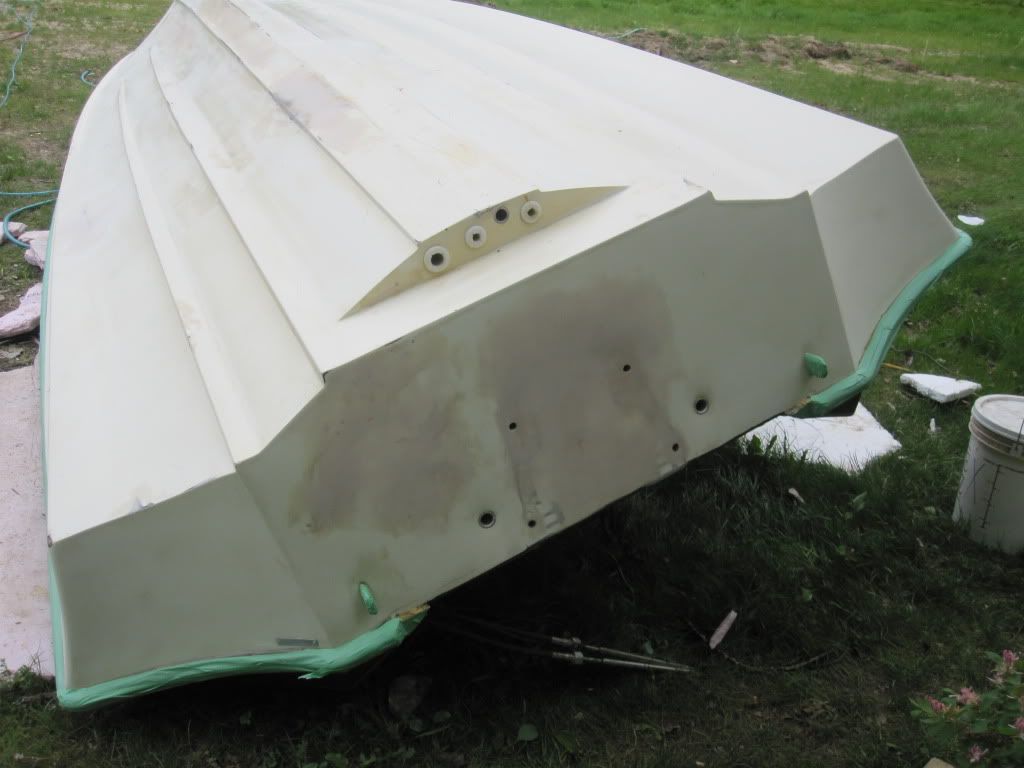
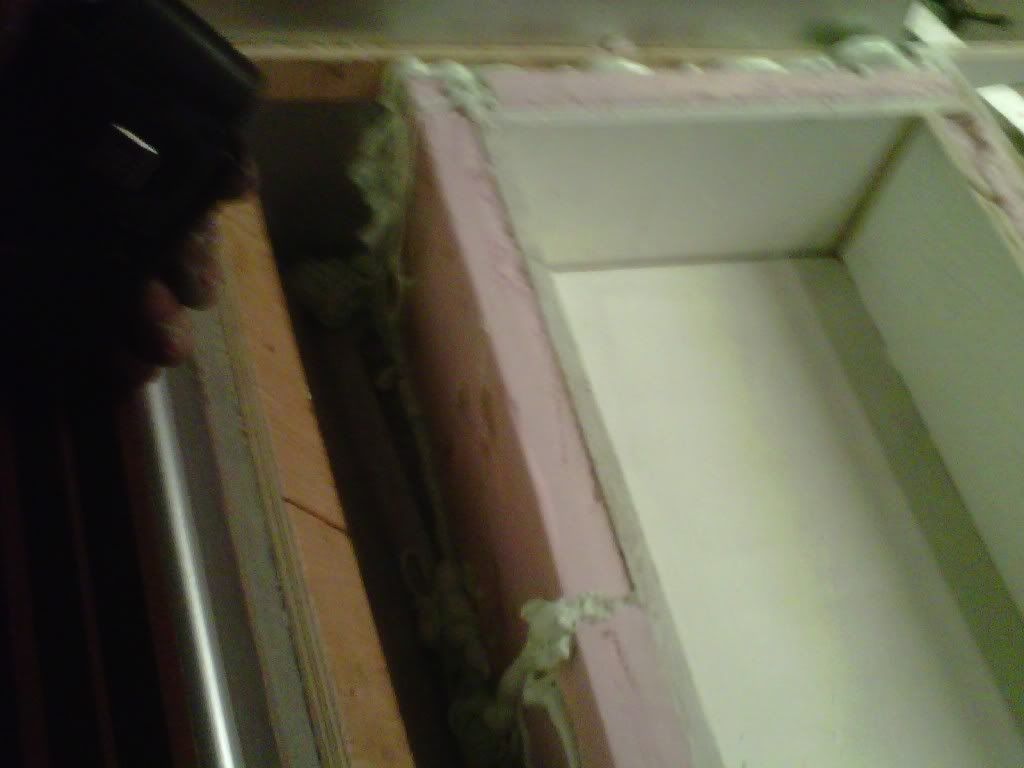
First job, thorough inspection of the hull, I found this:
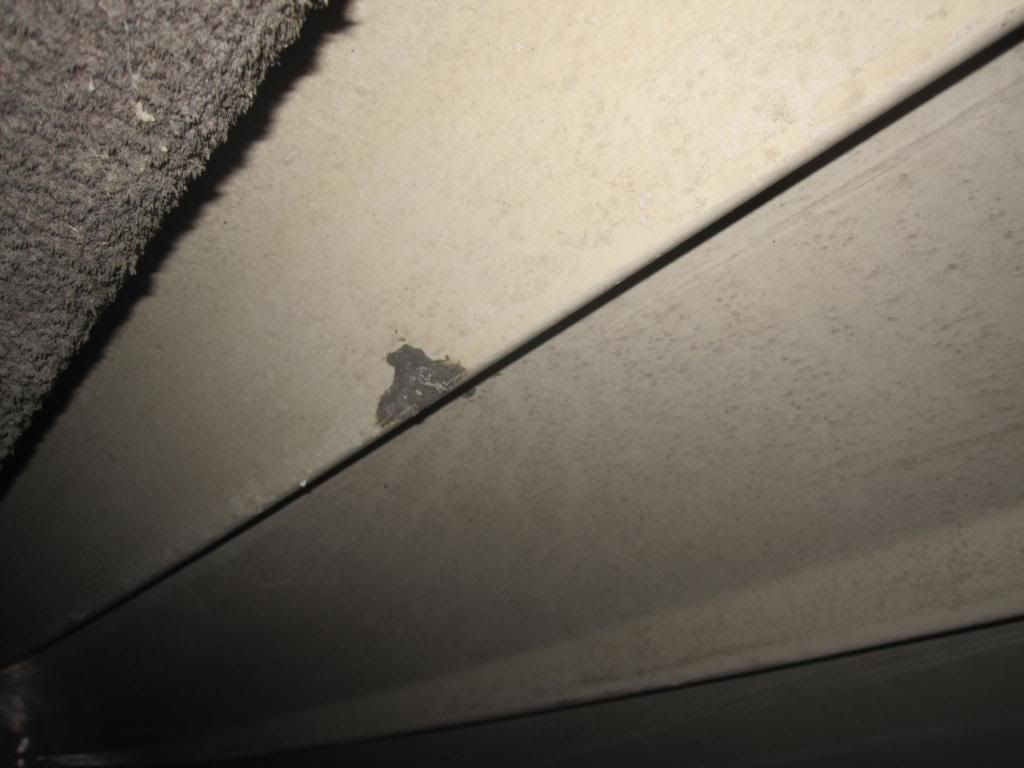
And this:

And this:
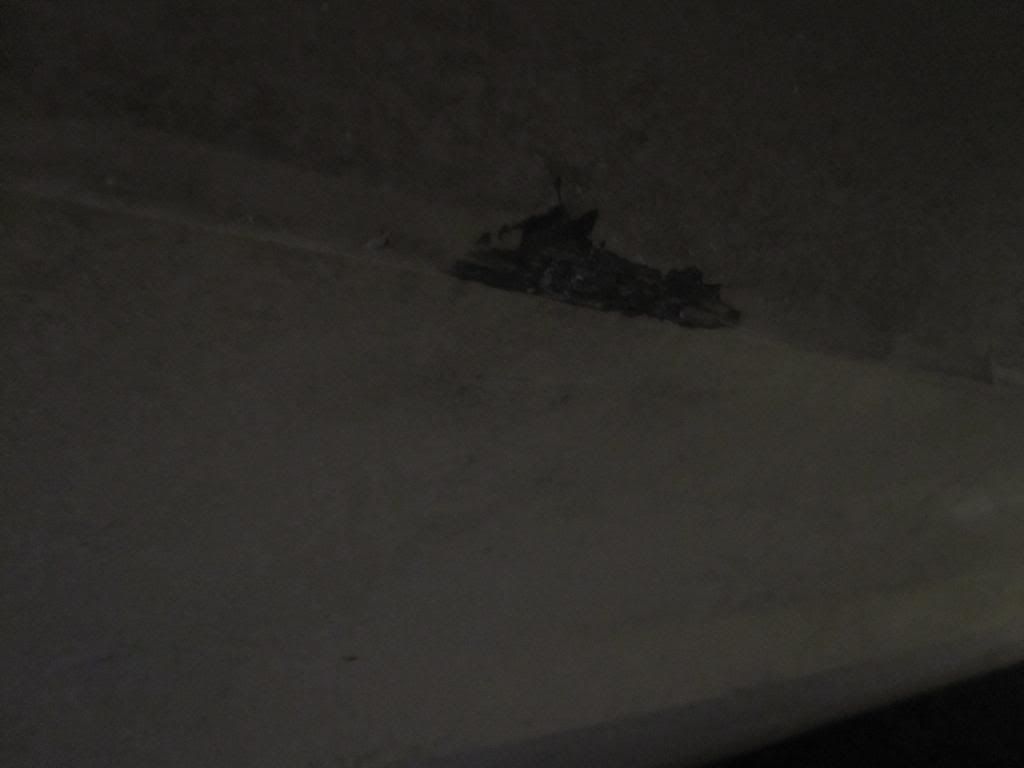
And when that was not enough, I found this:

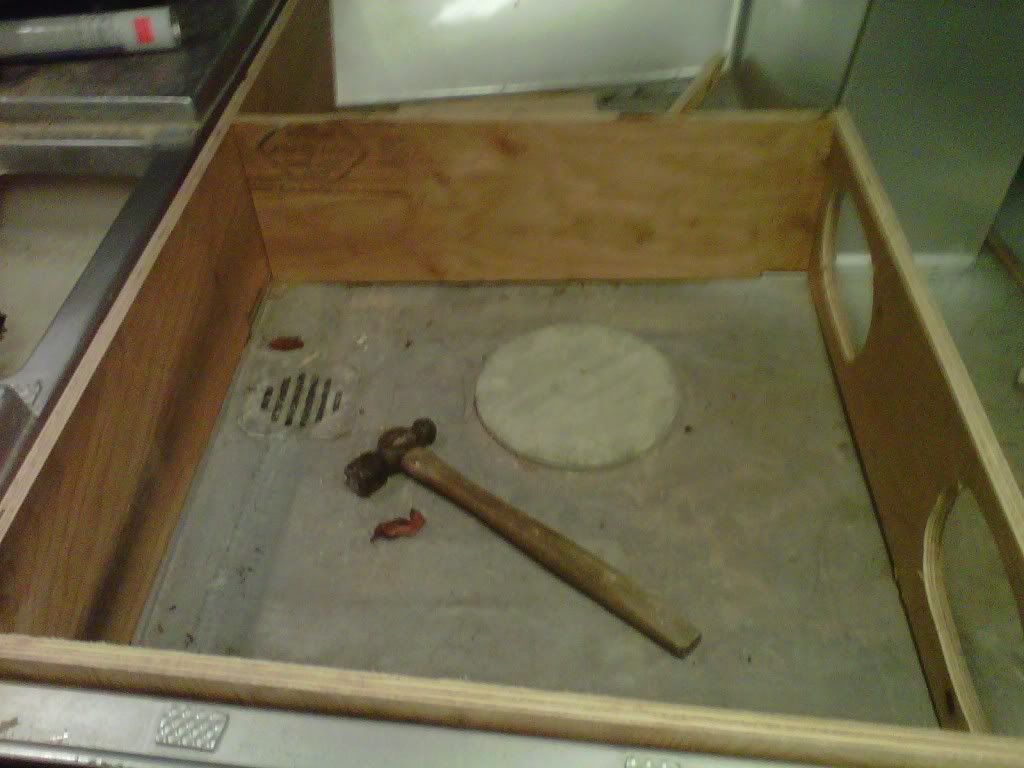
Ok, so I have some fibreglass work to do. On to the engine, which the seller assured me was fine. I expected to do some work to the hull, but the motor was OK. My brother came over and we fired it up, started no problem, and ran great, on FIVE out of the SIX cylinders. Pulled the heads and this is what I found:
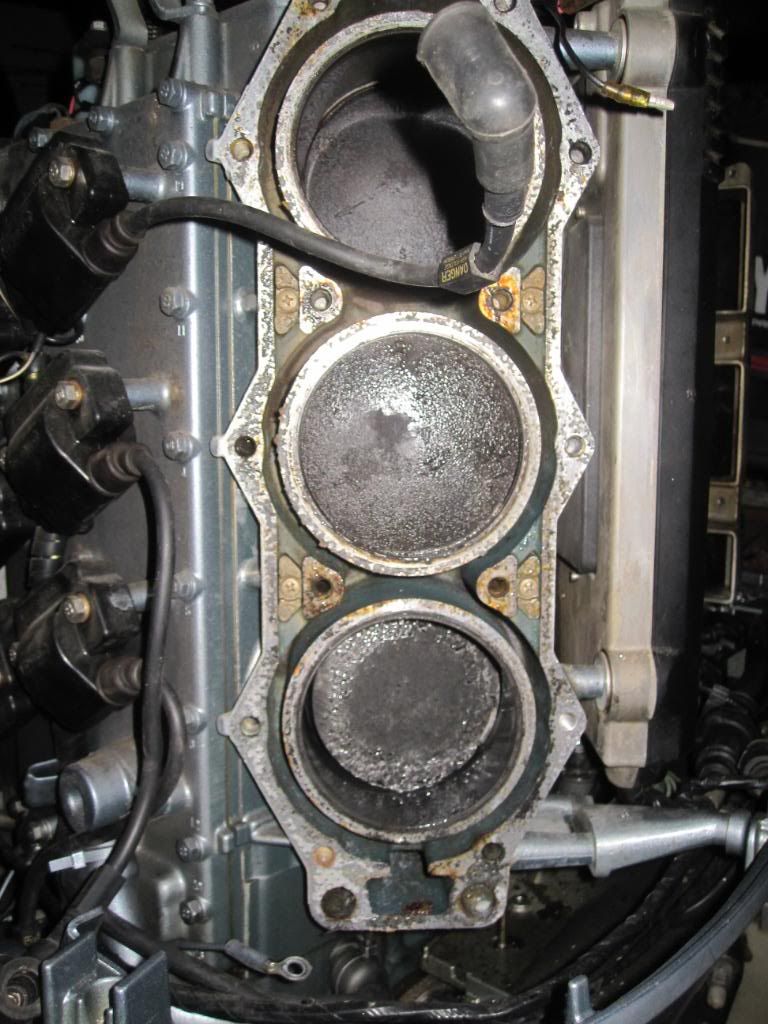

The inside of the head:
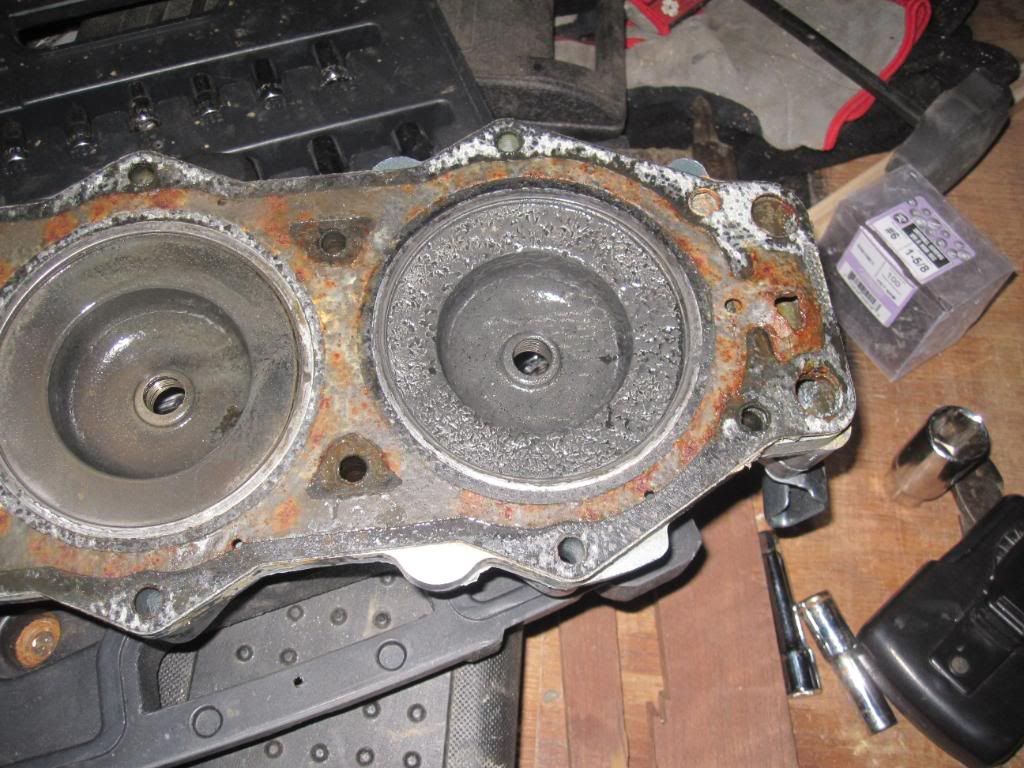
The cylinder and piston:
This was starting to turn into a big job. Well, the way to get big jobs done is the same way a small job gets done, one step at a time.
The first step, strip the interior and carpet. Then de-rig the hull. That was done by others, as I had made a deal for another motor, much newer, much nicer. More on that later.
Then I had to flip the hull, I took it off the trailer using the tried and true, tie ‘er to a tree and pull the trailer out from under method. To flip it I was stumped, until we finally just flipped it over with 6 men and a lot of care.
Then came the fibreglass repair, grind out the poor work, lay resin and roving, lay mat and resin, grind to shape, apply fairing compound, and sand, and sand, and sand, and sand, and sand, and sand, and sand, and when that is done, more sanding. I was using a 5” random orbit sander that is meant for finishing wood.

There is not one square inch of that hull that has not been rubbed by my hands at least four times.
I have to say that at this point I was getting a bit overwhelmed, and an aquaintence came over to help for a night. We did not get a lot done, but we established a friendship, and I was encouraged to carry on.
The next week, I bought a large compressor off of Kijiji, and an air sander that is meant for bodywork. What a difference!
Well all of the sanding on the bottom of the hull was finally done, and I called my older brother to come by and spray it. He came by, and we had to sand, and sand, and sand, and sand, and sand, and sand, and sand, and sand, and sand, and sand, and sand, until it was up to his standards. I glad we did. However, twenty minutes after the paint flashed over, it %#$*&^@*&%$ rained! This caused a series of craters in the paint that was applied, so after it dried, I had to sand, and sand, and sand, and sand, and sand, and sand, and sand, and sand, and sand, and sand, and sand, and sand, and sand, and sand, and sand, and sand, in order to get the hull ready again. Once again, he came over and sprayed the hull.
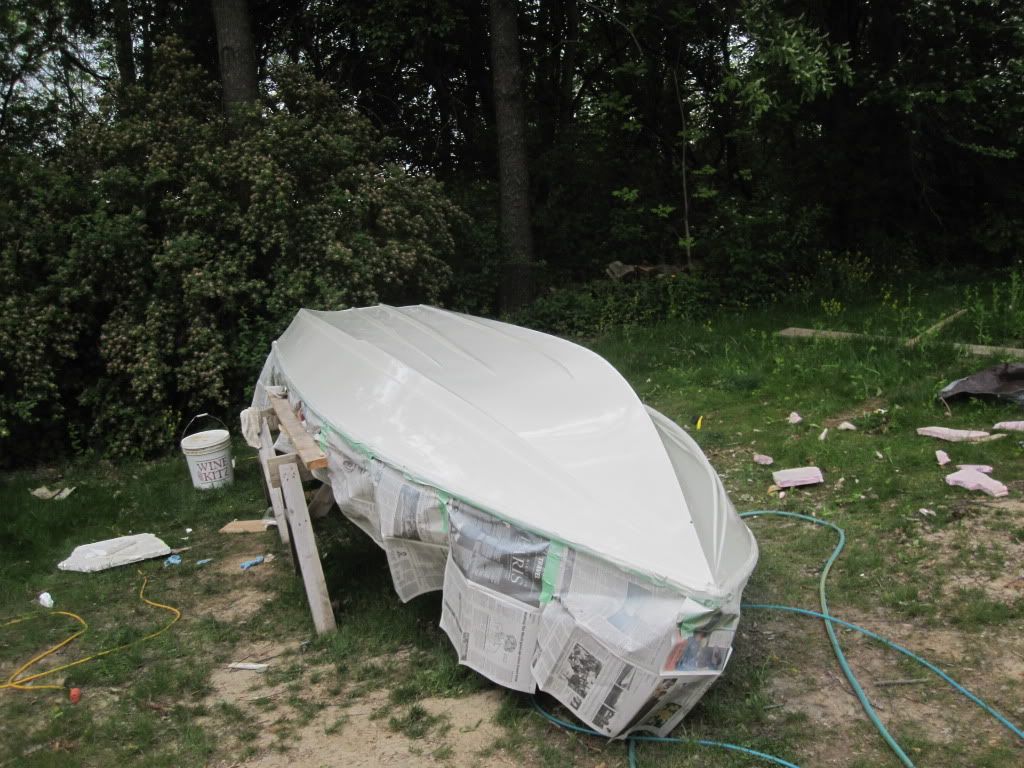
Finished:
The weather cooperated, the paint cured for four days, six guys came over and we flipped the hull right side up. With incredible care! Now, to get it in the trailer…..The bow eye having been reinstalled, and tightened very well……OH THE TRAILER!

While I was working on the bottom of the boat, I also redid the trailer. The fibreglass fenders had been shredded by a blowout, and the lights did not work very well. Also, the paint looked like crap, the carpet needed to be replaced on the bunks, the tongue jack was on the side rail causing the rail to twist, and the bearings were shot. I took the fenders off and had them re-done at a local fibreglass shop, faired the repairs, and then I had to sand, and sand, and sand, and sand, and sand, and sand, and sand, and sand, and sand, and sand, and sand, them until they were ready for paint. They were painted at the same time as the hull. Then the frame was wire brushed with a wire wheel on a grinder, (note to self – remove lighting wire before wire brushing or you may get your grinder caught up in the wire and ruin your grinder…), sprayed with tremclad, and the bunks wrapped with carpet and re-installed.
The bearings, I had to have help with, a mechanic buddy came over and helped me with that. I was not sure what I needed and he took one look, ran to the parts store and had them done in a jiffy. Thanks again!
Now back to the narrative….
Being nervous about ruining the paint and having to sand, and sand, and sand, and sand, and sand, and sand, and sand, and sand, and sand, and sand, and sand, and sand, and sand, and sand again, I decided to pull the trailer under the boat rather than pull the boat on the trailer. Dry carpet??????not with our happy lube, dish soap. It slid under lickety split!
Well, now I have a nice hull, but a unpleasant top cap, so guess what needs to be done to the top cap? You guessed it I had to sand, and sand, and sand, and sand, and sand, and sand, and sand, and sand, and sand, and sand, and sand, and sand, and sand, and sand, and sand, and sand, and sand, and sand, and sand, and sand, and sand, and sand, and sand, and sand, and sand, and sand, and sand, and sand, and sand, and sand, and sand, and sand, and sand, and the sand some more! There was more sanding and fairing involved with the top cap than with the hull.
Off to the paint shop, (no rain on this one), three coats of primer, HAND sanded between coats, and it was ready for paint. I gave my brother complete freedom in the paint and striping details so I was not around to tell that story, however I heard it involved a 3 am finish time…..
Then it was time to build the deck extension, pics will speak for me:

Now for re-assembly, make a new dash panel, install the mechanicals, and look at the wiring. I looked at the wiring, threw up my hands in holy horror and took the TV route.
I phoned a friend.
A buddy, saddled up his white stallion, and came riding to the rescue. He took a full Saturday to help me out with the wiring, and when he left, everything was working fine. That day would be another post on its’ own.
Time for the carpet, it went in a lot easier than I though it would. A lot like doing sod, but your cutting errors do not grow in, they stay and you only lay one roll to prevent seams.

Finally ready for the motor. I had made a deal for a 2004 Optimax, 150 HP where I paid $ X for the motor and traded the blown Yamaha for rigging.
The motor portion of this [project is still being worked out so I will remain silent on that for now.
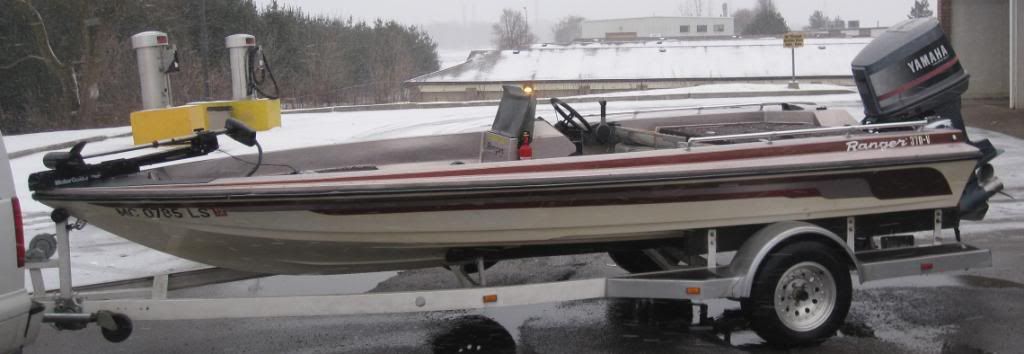
So it has gone from this:
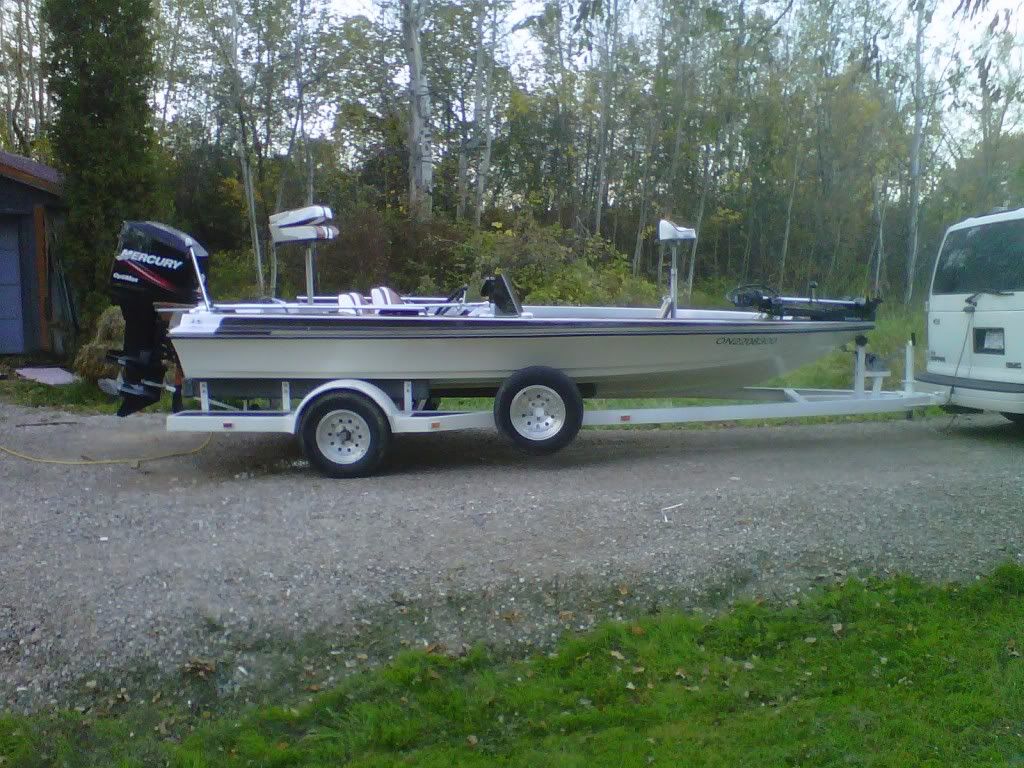
To this:
As I did not have a passport, my wife went over the border to pick it up, I waited by Sarnia customs office for her to arrive and when she did, I said to myself, Oh feces. It was too late, the deal was done, and as my mother would say, sometimes you just have to row with the oars you’ve got.
We pulled it home, and here is where the fun started, I went to back it into the shop, and it turned out that my door measured 89” and the boat measures 93”. That delayed the work until I installed another roll-up door in the shop. A month passed before I found a door at a price I could afford, (free), and installed it.
First job, thorough inspection of the hull, I found this:
And this:
And this:
And when that was not enough, I found this:
Ok, so I have some fibreglass work to do. On to the engine, which the seller assured me was fine. I expected to do some work to the hull, but the motor was OK. My brother came over and we fired it up, started no problem, and ran great, on FIVE out of the SIX cylinders. Pulled the heads and this is what I found:
The inside of the head:
The cylinder and piston:
This was starting to turn into a big job. Well, the way to get big jobs done is the same way a small job gets done, one step at a time.
The first step, strip the interior and carpet. Then de-rig the hull. That was done by others, as I had made a deal for another motor, much newer, much nicer. More on that later.
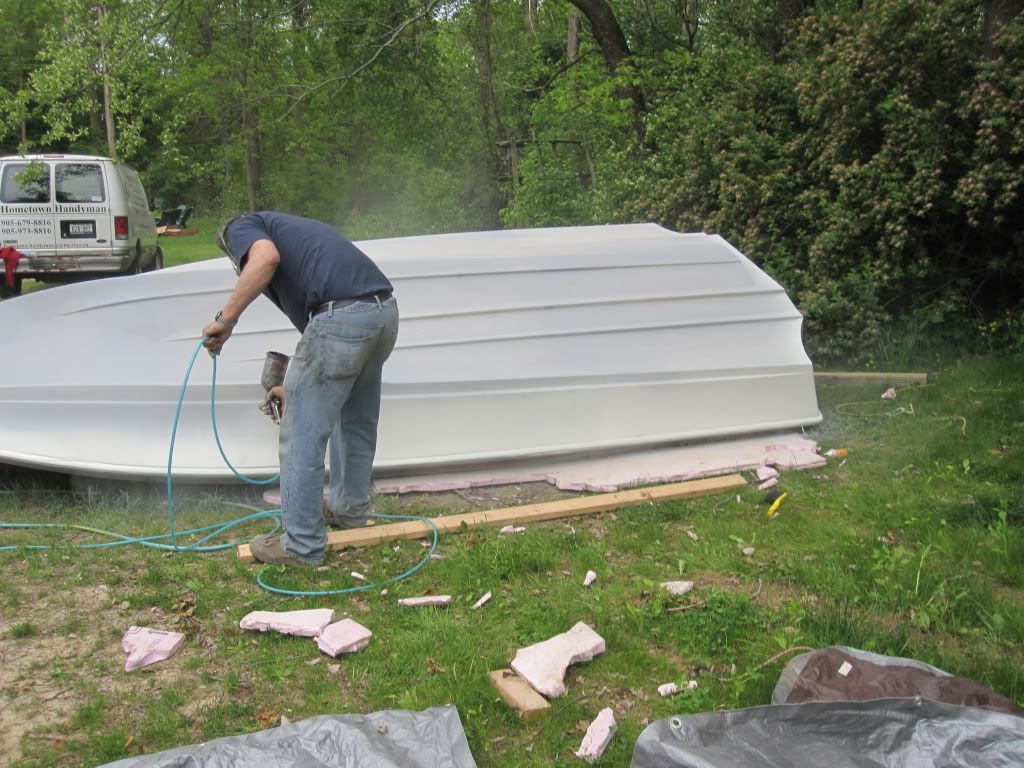
Then I had to flip the hull, I took it off the trailer using the tried and true, tie ‘er to a tree and pull the trailer out from under method. To flip it I was stumped, until we finally just flipped it over with 6 men and a lot of care.
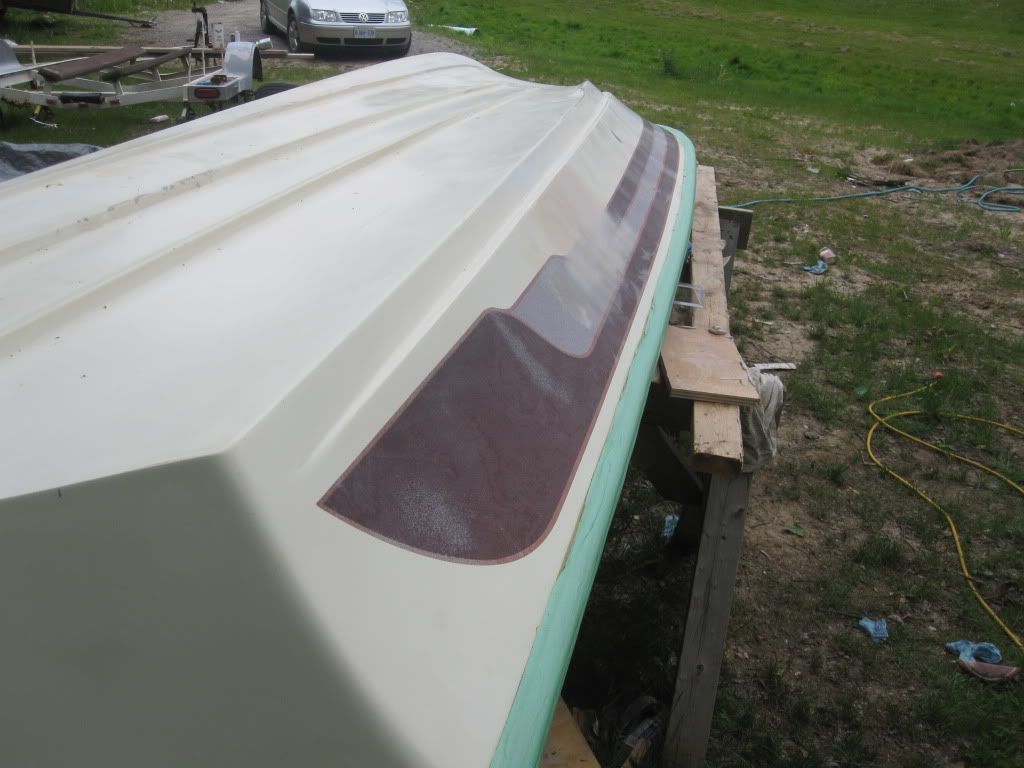
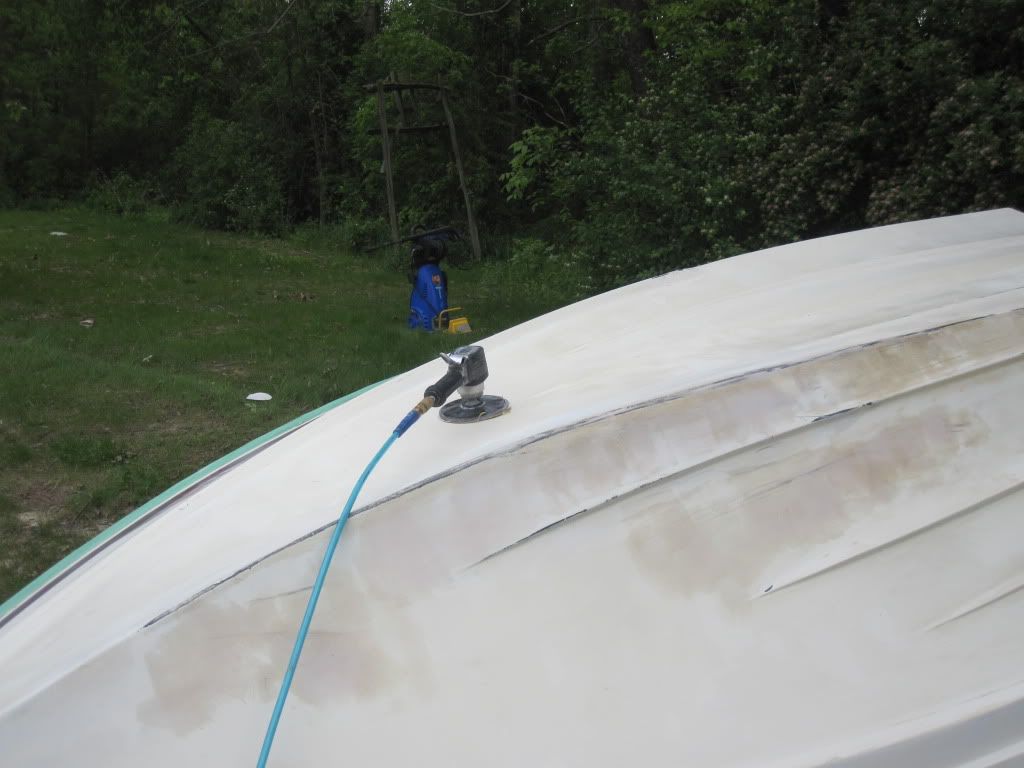
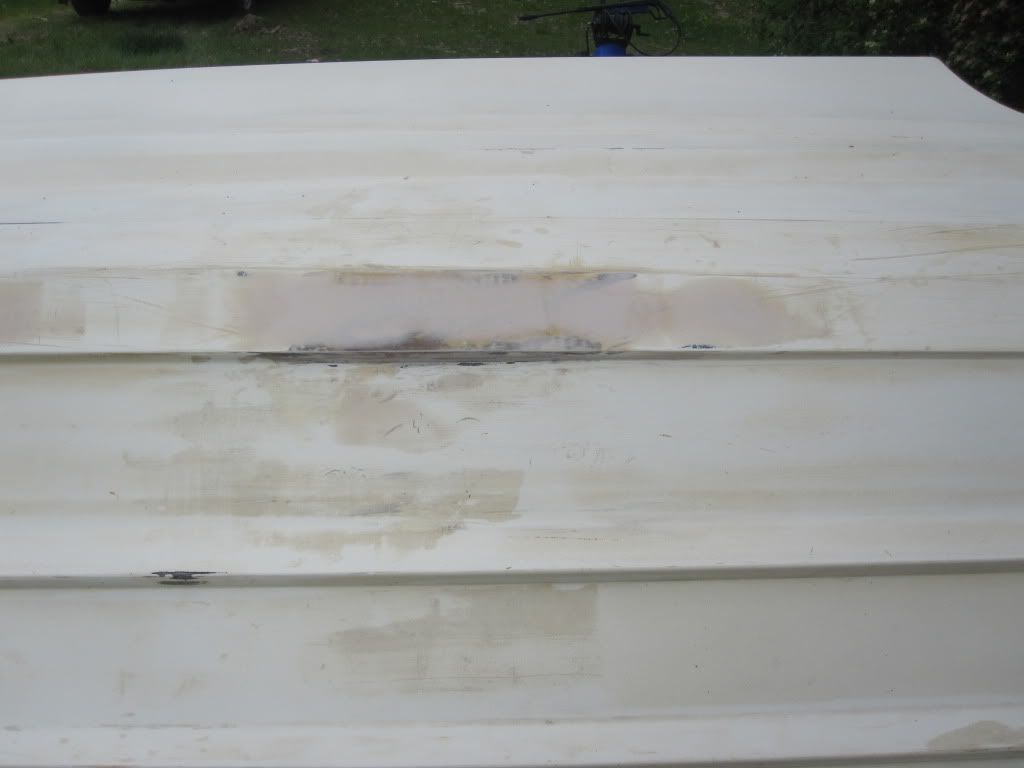
Then came the fibreglass repair, grind out the poor work, lay resin and roving, lay mat and resin, grind to shape, apply fairing compound, and sand, and sand, and sand, and sand, and sand, and sand, and sand, and when that is done, more sanding. I was using a 5” random orbit sander that is meant for finishing wood.
There is not one square inch of that hull that has not been rubbed by my hands at least four times.
I have to say that at this point I was getting a bit overwhelmed, and an aquaintence came over to help for a night. We did not get a lot done, but we established a friendship, and I was encouraged to carry on.
The next week, I bought a large compressor off of Kijiji, and an air sander that is meant for bodywork. What a difference!
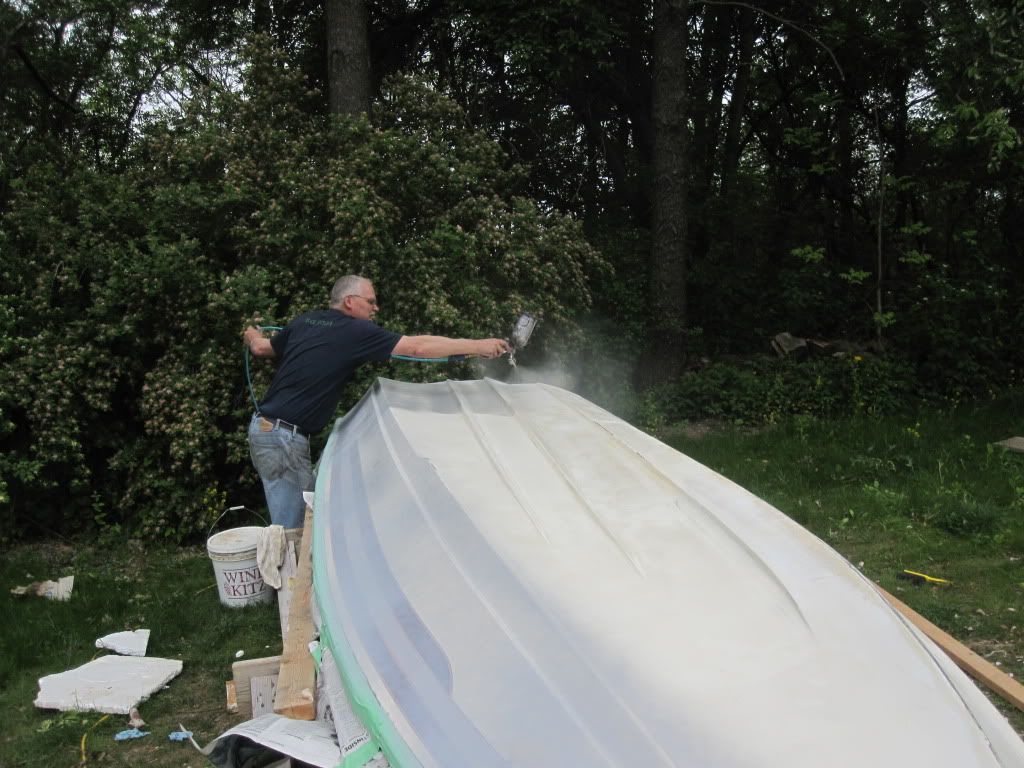
Well all of the sanding on the bottom of the hull was finally done, and I called my older brother to come by and spray it. He came by, and we had to sand, and sand, and sand, and sand, and sand, and sand, and sand, and sand, and sand, and sand, and sand, until it was up to his standards. I glad we did. However, twenty minutes after the paint flashed over, it %#$*&^@*&%$ rained! This caused a series of craters in the paint that was applied, so after it dried, I had to sand, and sand, and sand, and sand, and sand, and sand, and sand, and sand, and sand, and sand, and sand, and sand, and sand, and sand, and sand, and sand, in order to get the hull ready again. Once again, he came over and sprayed the hull.
Finished:
The weather cooperated, the paint cured for four days, six guys came over and we flipped the hull right side up. With incredible care! Now, to get it in the trailer…..The bow eye having been reinstalled, and tightened very well……OH THE TRAILER!
While I was working on the bottom of the boat, I also redid the trailer. The fibreglass fenders had been shredded by a blowout, and the lights did not work very well. Also, the paint looked like crap, the carpet needed to be replaced on the bunks, the tongue jack was on the side rail causing the rail to twist, and the bearings were shot. I took the fenders off and had them re-done at a local fibreglass shop, faired the repairs, and then I had to sand, and sand, and sand, and sand, and sand, and sand, and sand, and sand, and sand, and sand, and sand, them until they were ready for paint. They were painted at the same time as the hull. Then the frame was wire brushed with a wire wheel on a grinder, (note to self – remove lighting wire before wire brushing or you may get your grinder caught up in the wire and ruin your grinder…), sprayed with tremclad, and the bunks wrapped with carpet and re-installed.
The bearings, I had to have help with, a mechanic buddy came over and helped me with that. I was not sure what I needed and he took one look, ran to the parts store and had them done in a jiffy. Thanks again!
Now back to the narrative….
Being nervous about ruining the paint and having to sand, and sand, and sand, and sand, and sand, and sand, and sand, and sand, and sand, and sand, and sand, and sand, and sand, and sand again, I decided to pull the trailer under the boat rather than pull the boat on the trailer. Dry carpet??????not with our happy lube, dish soap. It slid under lickety split!
Well, now I have a nice hull, but a unpleasant top cap, so guess what needs to be done to the top cap? You guessed it I had to sand, and sand, and sand, and sand, and sand, and sand, and sand, and sand, and sand, and sand, and sand, and sand, and sand, and sand, and sand, and sand, and sand, and sand, and sand, and sand, and sand, and sand, and sand, and sand, and sand, and sand, and sand, and sand, and sand, and sand, and sand, and sand, and sand, and the sand some more! There was more sanding and fairing involved with the top cap than with the hull.
Off to the paint shop, (no rain on this one), three coats of primer, HAND sanded between coats, and it was ready for paint. I gave my brother complete freedom in the paint and striping details so I was not around to tell that story, however I heard it involved a 3 am finish time…..
Then it was time to build the deck extension, pics will speak for me:
Now for re-assembly, make a new dash panel, install the mechanicals, and look at the wiring. I looked at the wiring, threw up my hands in holy horror and took the TV route.
I phoned a friend.
A buddy, saddled up his white stallion, and came riding to the rescue. He took a full Saturday to help me out with the wiring, and when he left, everything was working fine. That day would be another post on its’ own.
Time for the carpet, it went in a lot easier than I though it would. A lot like doing sod, but your cutting errors do not grow in, they stay and you only lay one roll to prevent seams.
Finally ready for the motor. I had made a deal for a 2004 Optimax, 150 HP where I paid $ X for the motor and traded the blown Yamaha for rigging.
The motor portion of this [project is still being worked out so I will remain silent on that for now.
So it has gone from this:
To this: